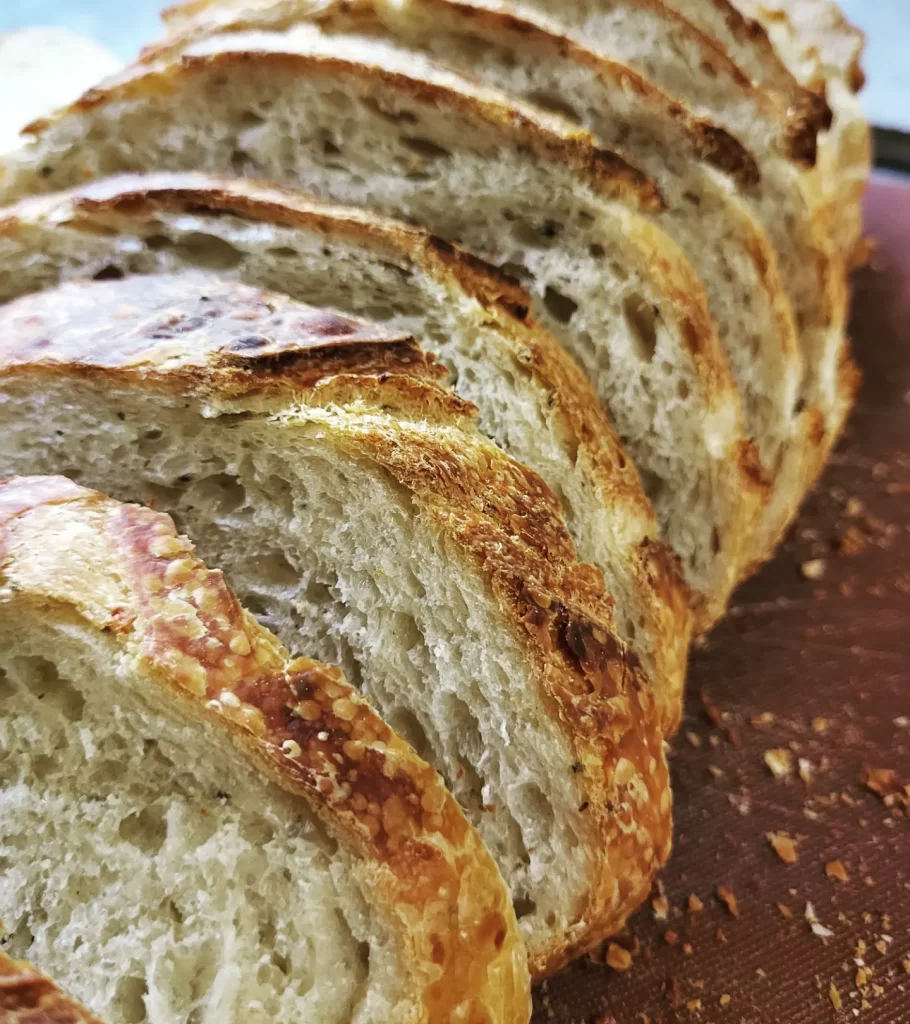
I want to share my sourdough bread recipe because I believe everyone should have a go to recipe that they have memorized. I think it helps in the process of being able to bake more consistently as you don’t have to get out a recipe book or any special ingredients. This is the sourdough bread recipe I use most often, it’s my utility loaf. I bake this at work and the loaves never last long! Check out Sourdough Basics for more in depth on hydration, and baker’s percentage. This recipe is 65% hydration, I have found it to be really easy to work with, and always gives great results. There is a link at the bottom to download the recipe, keep it on your fridge for an easy guide.
What you need:
- Scale
- Large Bowl
- Cover for Bowl
- Measuring cup/any cup
- Loaf pan, or any loaf sized container (for rising)
- If using loaf pan to rise in, use this to bake in
- Optional: Dutch Oven
Ingredients:
- Flour (whatever kind you have) 800g
- Water 520g
- Active Starter 120-150g
- Salt 18g
Combining ingredients.
- Measure out your 520g of warm (80F) water in the bowl.
- Add 18g salt and stir around until dissolved.
- Add 120-150g active starter to water mixture, and use a fork/hands to break up and stir around until evenly broken up.
- Add 800g flour and mix by hand until fully mixed, using one hand and pinching and squeezing the dough is the best technique. Basically you are trying to get all the dry flour gone. This may take 2-4min.
- Cover the bowl tightly, and rest in a warm (75f-85f) place for 1 hour. I usually put it in the oven with the light on. Make sure to put a note on the oven so no one turns it on!
Gluten development.
- (After 1 hour) Perform a set of stretch and folds, after each stretch and fold rotate the bowl 90 degrees and repeat. So, four stretch and folds total for each “set”. Cover and Rest 45min in warm place.
- Perform set of stretch and folds. You will notice the dough tighten up after each stretch and fold. Resting allows it to relax again before the next set. Cover and rest 30min.
- Perform set of stretch and folds. Cover and rest 30min.
- Perform set of stretch and folds. Cover and rest 30min. (Total time so far 3h 15min.)
Shaping.
- Turn dough out on to lightly floured surface.
- Divide evenly into two pieces. You can easily change the size of the sourdough bread recipe, but this one is just for two loaves.
- Gently form both pieces into a ball, you can place your hands behind the dough and drag it towards you on the counter to create a bit of surface tension on the dough ball. Rest 15-20min, this allows the dough to relax a bit before final shaping.
- Final shaping -take one dough ball and gently drag opposite sides out to form more of a log shape. flip it upside down. Now take the longer edge of one side and fold it into the center of the dough log. Repeat on other side.
- Fold in the ends and pinch the seam of the dough log closed!
- You have just done the final shaping of a sourdough loaf.
Rising.
- Place loaves on parchment paper in loaf pans, seam side down.
- Cover with plastic wrap and place in fridge.
- Let rise in fridge for 12-36 hours. The great thing about this is you can bake the loaves whenever is convenient for your schedule. If possible 24-30 hours is best, but all times have great results.
Baking.
- Preheat oven to 500F with dutch oven inside for approx 30min. If you don’t have a dutch oven, just preheat the oven.
- If using dutch oven, once it is preheated take the loaf out of the pan with the parchment paper, and score the loaf. (bake one loaf at a time)
- Place loaf in dutch oven, lid on, put in oven, bake for 20min.
- Remove the lid, turn oven down to 450F and bake for another 18-20min.
- Remove and let cool. (As long as you can wait, longer the better, I know this is hard)
- Eat.
Tips
- I like to sometimes stagger baking each loaf, so one in the evening, at whatever time works best, and then the next morning.
- Always bake two loaves! They freeze really well, plus you build experience with shaping and baking. If you really don’t want to keep it, just give it to a friend!

